My style is most definitely a Clean and Simple Style and when looking at Clean and Simple (CAS) cards you may think they’re very simple to make and sometimes they are. However, other times there is a fine line between making a CAS card and taking it one step too far or doing the exact opposite and your card looks as if you’ve just stamped and colored an image for a very quickly thrown together card. Today, I’m sharing with you a VERY CAS card and in the video I share with you the littlest of steps that takes this card from looking like a quickly thrown together card to one that is sure to impress the recipient!!
ENJOY!!
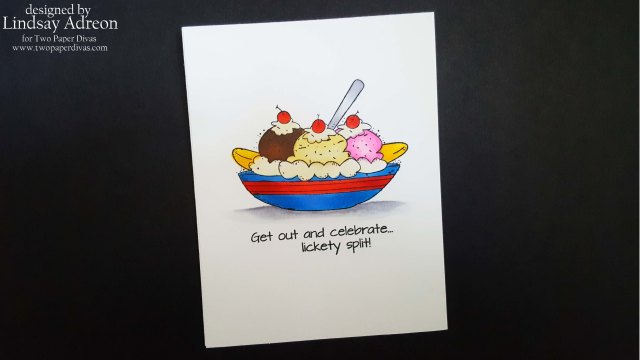
Starting with a full A2 sized white card stock panel (4.25″ x 5.5″) and my MISTI, I stamped the “Banana Split” stamp from Two Paper Divas along with the “Get Out and Celebrate Lickety Split” sentiment from the Junk Food Alley stamp set in the top center of the panel. Because I decided on alcohol markers for my coloring medium I used Memento Tuxedo Black Ink and double stamped the images so I could get a darker and richer black.
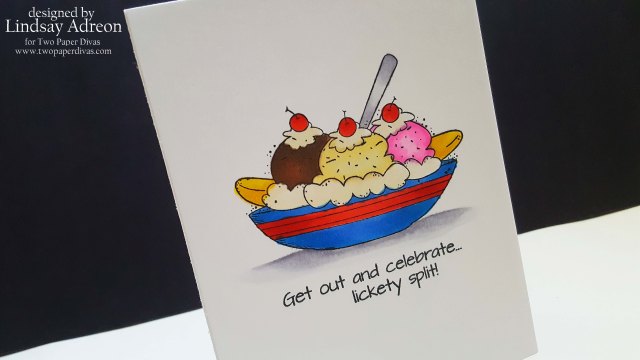
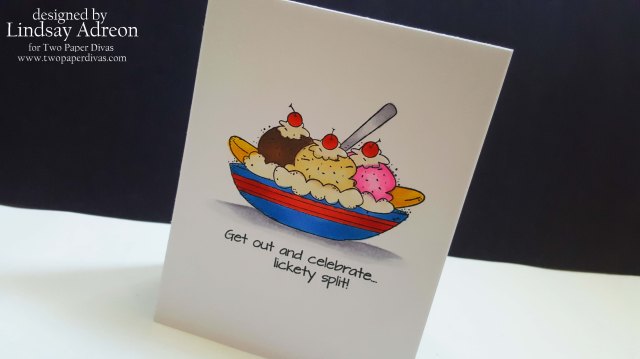
I brought out my alcohol markers for the coloring and really did some very simple and traditional coloring for the banana split. But, the coloring is where I added that little something extra that took the card one step further and that was the shadow underneath the banana split. I used a darker and lighter gray to add a shadow under the bowl and that was all the card needed to make it look more put together and impressive.
I wanted to give the card a one layer look, without the bleed through, which is why I made my panel full A2 size. To put the card together I simply attached the panel to an A2 top folding white card base to complete the card.
This card was a very quick card to make, 18 minutes from start to finish, however sometimes CAS can take ALOT longer. And unfortunately, there is no sure formula or trick to make CAS cards work, it’s all about figuring out where to stop and when to take it one step further.
I hope you guys enjoyed today’s card and video, and that I’ve inspired you to try and make a Clean and Simple (CAS) card as well. If you’re interested in any of the (limited) supplies I used on today’s card, you can find them all linked below! Thanks so much for stopping by today! Happy Crafting!!
Dick Blick Studio Brush Markers – Set of 48
 |
 |
 |
 |
 |

I, too, love CAS cards and your CAS cards never look thrown together. There is always enough detail to look beatiful! Thanks for the helpful tips!
LikeLike
Thank you so much Gayla!!!!
LikeLike
This one look so yummy! Makes me want to dive right in. Always love your creations! Melissa
LikeLike
Thank you!!
LikeLike
Thank you so much!!
LikeLike