Two Sundays ago was Grandparent’s Day and I did not have a stamp that read Happy Grandparents Day. So I combined a digital stamp from Craftin’ Desert Divas along with a personalized sentiment that I added in Photoshop Elements and I had a card that just needed to be colored and assembled and it was ready to go! You can watch the full tutorial below!
ENJOY!!
Starting in Photoshop Elements with a new blank project that measured 4 1/4″ x 5 1/2″ I brought in and placed the Craftin’ Desert Divas “Jelly Bean Machine” (Click here to see it!!) Digital stamp into the bottom right corner. I enlarged the stamp quite a bit and then clicked my green arrow when I was happy with the size and placement. Because this card was going to be given to my children’s grandparents from them I wanted to add a custom sentiment to the panel before I printed.
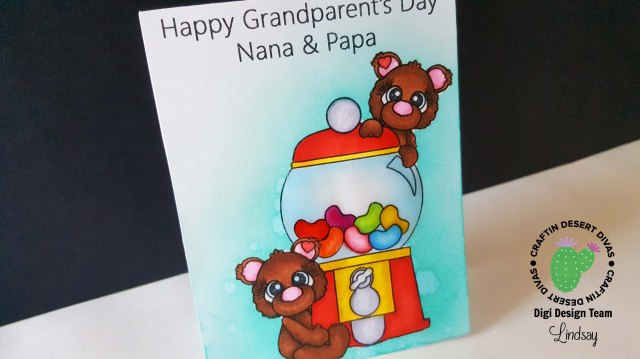
I HIGHLY suggest watching the video to see all the different options Photoshop Elements has that you can add to your sentiments but I kept mine pretty basic. I used an Arial type font in black and write in horizontal mode. I wrote out my sentiment which read “Happy Grandparent’s Day Nana and Papa” and then adjusted the size and placement. This is such a fun way to customize any type of card, just by adding the person’s name or names.
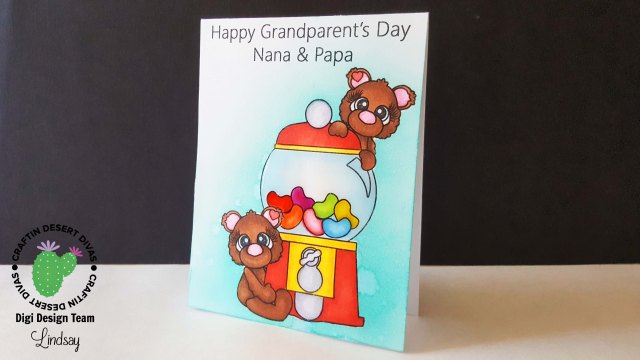
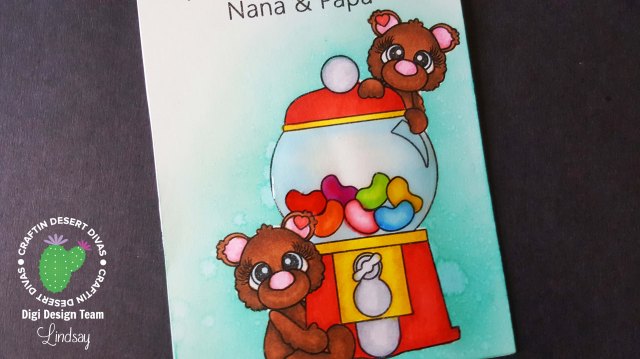
I printed off my panel with my laser printer and colored in my image with alcohol markers. I masked off my colored image with computer paper and rubber cement and sponged (very liberally) some Evergreen Bough Distress Ink using my mini ink blending tool over the entire colored image to create a bit of a halo and ground the image a bit. While I had my mask on I sprinkled on some water, let it sit and then mopped it up with a dry cloth to create some white spots, a blast from my heat tool also made these spots even more pronounced and dried my cardstock. To put the card together I simply applied some double sided adhesive to the back of my panel and adhered it to an A2 white top folding card base. To finish it off and add a bit of dimension I applied a layer of glossy accents over the glass of the jelly bean machine.
Adding a custom sentiment is such an easy way to really personalize a card or tag for the recipient. I hope I’ve inspired you to give it a try as well!
You can find the supply list for my card below. I’ve also linked a website with a ton of free fonts! Thanks so much for stopping by today! Happy Crafting!
Click here for the “Jelly Bean Machine” Digital Stamp
 |
 |
 |
 |
 |
 |
 |
 |
