Yesterday I shared with you a tag I made for the Coffee Lover’s Blog Hop. I wanted to keep with the coffee theme today and create a card. I’ve had this idea to use the “Tea Cups 2” set from Two Paper Divas to create a really fun background and I finally got around to doing it! You can watch the video below to see how I used a watercolor wash combined with the emboss resist technique to create this fun coffee inspired card!
ENJOY!!
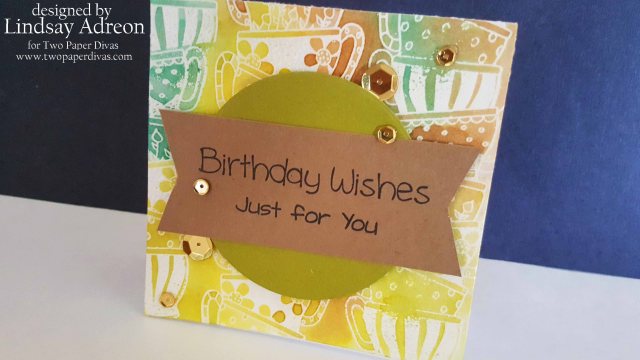
I started with a piece of 4″ x 5 1/4″ watercolor paper, I would eventually cut this down to 4″ x 4″, so whichever you prefer to start with will work. Using the Tea Cups 2 stamp I inked it up with Versamark ink and after prepping my paper with an embossing bag I stamped it down. After quickly masking off the top of the stamped image with a post it note I inked up the stamp again and stamped it down so it appeared to continue on with the stack of cups. I sprinkled on some clear embossing powder and heat set the images. To create the entire background I kept repeating the process across the paper until it appeared to be filled with stacks of cups.
For my watercolor I decided to use Distress Inks. I simply smooshed each ink pad onto my pallet which is just a piece of white cardstock that I’ve laminated. After adding a few drops of water to each color and completely saturating my watercolor paper with water I started dropping in the ink. I kept randomly applying the colors to the paper until it was completely filled. Because I had heat embossed the cups, the embossed areas resisted all the watercolor and stayed completely white allowing the images to show through the colors. When I was happy with the intensity of my colors I used my heat tool to speed up the drying process.
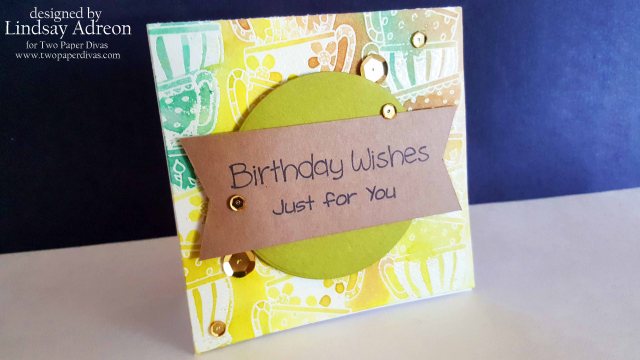
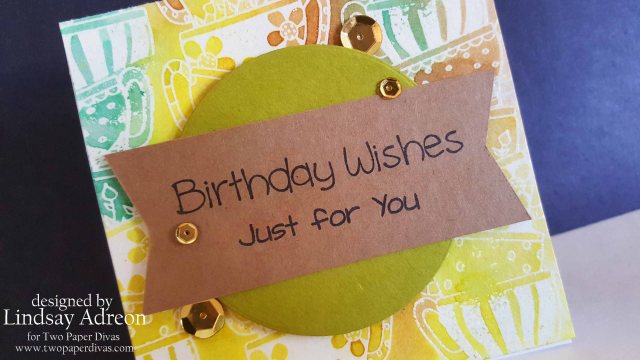
To finish off my card I first cut a 2″ circle from a piece of olive cardstock and then made a 2″ x 3 1/4″ banner from kraft cardstock. (Watch the video for further instructions on that process). I built up a sentiment that read “Birthday Wishes Just for You” and stamped those on the banner with black dye ink. With all my components done I could put the complete card together by adhering the watercolor panel to a 4″ x 4″ top folding card base, then attaching the circle in the center of the base with fun foam and the same double sided adhesive. I put down the banner in the center of the circle, again, with double sided adhesive. Finally I attached a few gold sequins using my Quickstik tool and Glossy Accents to secure them.
This was a fun (and messy) card to make! I hope you too will create a watercolor wash background, try some emboss resist or combine the two like I did.
If you’re interested in any of the supplies I used on today’s card you can find them all linked below. Thanks so much for stopping by today!! Happy Crafting!!
-
Two Paper Divas – Tea Cups 2 Stamp Set
-
Two Paper Divas – Make a Wish Stamp Set
-
Two Paper Divas – Banners #3 Stamp Set
 |
 |
 |
 |
 |
 |
 |
 |
 |
 |
 |
 |
 |
 |
 |
 |
 |
 |
 |

I love the messy watercolors.
LikeLike
Thanks so much!!!
LikeLike
Oh, so cute!!
LikeLike
Thank you!!!
LikeLike
so nice!
Fiki
LikeLike
Thanks!!
LikeLike
So very pretty! I love using this technique … tho I didn’t put water on my card first. I will have to try that and see … thanks for the inspiration!
LikeLike
Thank you so much!!
LikeLike
Love the colors on this one Lindsay
LikeLike
Thanks so much Stacy!!!
LikeLike
I love the water colored cups in your background.
LikeLike
Thank you!!
LikeLike
Thanks for the video explaining the beautiful background on your card.
LikeLike
You’re so very welcome!! Thanks for watching!!
LikeLike
Very pretty wash background. Mine never looks so great. Maybe I should try again. Thanks for the inspiration
LikeLike
Neither do mine…I just keep adding color until I get something I like!!!! Thank you for your kind comments!!
LikeLike
amazing card, thanks for the video
LikeLike
Lindsay! Awesome awesome background! Love this!
LikeLike
Gorgeous card!!!
LikeLike
Great colors, Lindsay! And I love a technique that allows a faster card than color each cup individually! Fun!
LikeLike
Super pretty, love that watercolored background!
LikeLike
This is beautiful, Lindsay!
LikeLike
That is a beautiful card!!!!
LikeLike