It is no secret I love to make use geometric stamps to create patterns. Here are just a few examples Here and Here. Today, I want to share a way to mask your patterns with another shape to create more interest and a unique look on your cards. You can watch the video tutorial below for the full tutorial!
ENJOY!!
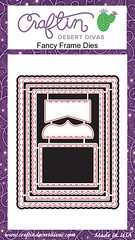
I first used a piece of computer paper and circle die to create a mask to stamp through. Previously, I had used masking paper to create all my masks, including these larger ones, however, this takes up a full piece and I feel is really wasteful. Computer paper is thin enough that is doesn’t obstruct your stamping, thin enough to see through for easy placement (this is a bonus as you can’t see through masking paper) and easily stays in place with a bit of painter’s or washi tape! I placed this mask in the bottom right hand corner of a Scalloped Rectangle Die Cut and brought out my Background Basics Lines stamp set from Inspired by Stamping.
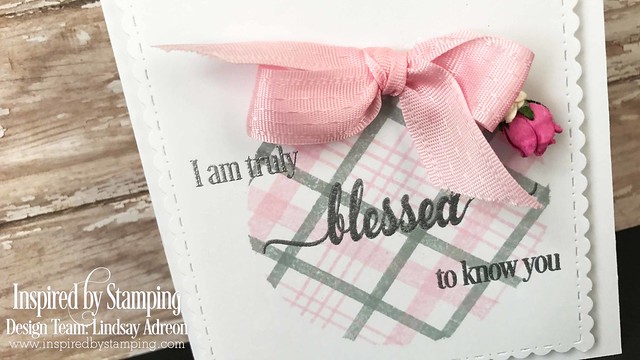
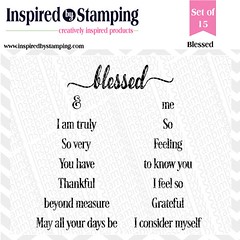
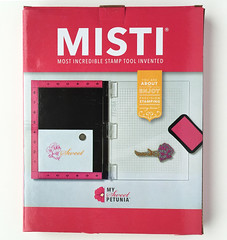
Using fun foam as my stamping surface I started stamping a plaid pattern in the masked circle using two Memento Dye Inks in Angel Pink and London Fog. Instead of two stamps and two colors of ink, I used three stamps and two colors of ink for a unique look. That is really one of the reasons I love pattern stamping and these types of stamp sets. They can be used and reused sooo many times for completely different looks! When my plaid stamping was complete I removed the mask and moved onto my sentiment. Any sentiment would work for this style of card, but I chose to use the “Blessed” stamp set from Inspired by Stamping, lining up the sentiment to fit inside the plaid circle. I used my MISTI and Versamark ink to stamp the sentiment down and then heat embossed with silver to bring out the gray stamping!

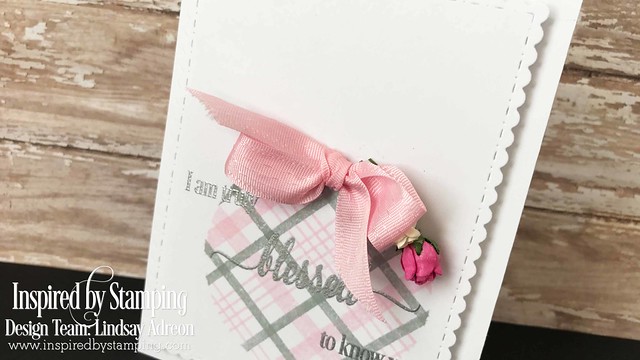
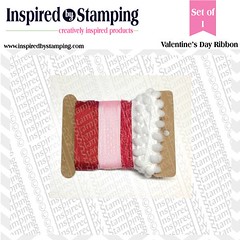
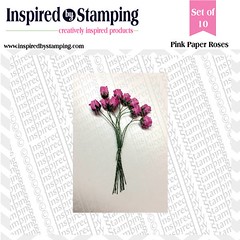
To finish this card off I used a punch to punch two slits at the top of the circle, I threaded in some of Inspired by Stamping’s pink ribbon from the Valentine’s collection and tied a nice bow. I also adhered two of their flowers, in pink and white on the right hand side of the bow and glued them down to run along and frame the circle. Finally, I popped up this CAS panel onto an A2 top folding white card base using fun foam and double sided adhesive.
Normally I don’t create cards like this and I find them very difficult to make, however, I stuck with my CAS style by scaling back and leaving quite a lot of white space so this card came together very smoothly and I love the way it turned out. Because I used such large embellishments, I really tried to stick with a CAS design to fit my style of cardmaking and what I tend to like.
If you are interested in any of the supplies I used on today’s card, you will find them all linked below! (Affiliate links used as no additional cost to you!) Thanks so much for stopping by and spending some time with me today!! Happy Crafting!!

Background Basics Lines Stamp Set

Hero Arts Nesting Circle Dies
 Big Shot

Memento Angel Pink Dye Ink Pad
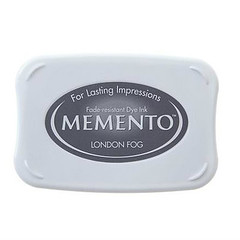 Memento London Fog Dye Ink Pad
  Versamark Ink Pad
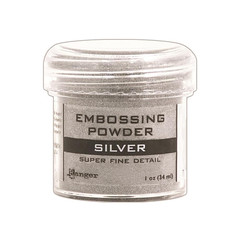 Ranger Super Fine Detail Silver Embossing Powder


One reply to “Masking Patterns”